
Creating Maps
An Admin user can create individual maps which show customized sets of stations. For example, maps can be created which only show stations in a particular project. In this section we will walk through the creation of a map which consists of only the stations in the Big Springs Project.
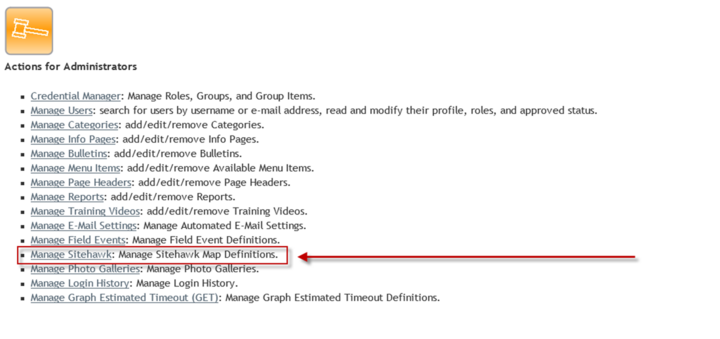
To access the SiteHawk Admin Interface from the Admin Interface, click on the ‘Manage SiteHawk” link in the Admin Interface.
New maps are defined by specifying the stations that are to appear on a map. The Manage Sitehawk Interface contains simple tools allowing maps to be created.

The following is a list of steps to create a map (use the above image for a reference):
1. Select Project: Select a project from the dropdown that contains stations you want to assign to the map.
2. Assign Stations: Select a station from the "Available Stations" list and use the arrow pointing to "Assigned Stations" to assign stations to the map.
3. Name Map: Name the map.
4. Dynamic Coords: Click this button to dynamically generate the Min/Max Longitudes and Latitudes for the map based on the stations you have selected.
5. Current Position: This button will retrieve the coordinates of the map as it is currently positioned.
6. Activate Map: Select this checkbox to activate the map.
7. Insert Map: Insert the new map.
In addition, the zoom bar and compass that appear in the upper left of the map can be hidden or revealed by unchecking or checking the “Show Toolbar’ box in the Map Details form.